Address
304 North Cardinal
St. Dorchester Center, MA 02124
Work Hours
Monday to Friday: 7AM - 7PM
Weekend: 10AM - 5PM
Address
304 North Cardinal
St. Dorchester Center, MA 02124
Work Hours
Monday to Friday: 7AM - 7PM
Weekend: 10AM - 5PM
Lenovo Y700-14ISK notebook screen does not show repair
Machine model: Lenovo Y700-141SK notebook
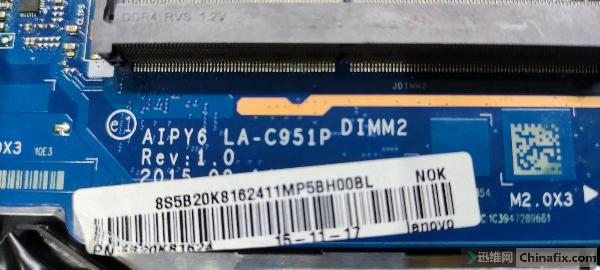
Main board number: LA-C951P REV1.0
Malfunction: The notebook screen does not display.
Maintenance process:
A Lenovo Y700-14ISK notebook, the fault is that the power indicator lights up, but the notebook screen does not show.
Dismantle the machine, disconnect the battery cable, turn on the adjustable power supply, stop the current at about 0.5A, disconnect the CMOS battery to discharge, and reinsert the memory module.
Remove the main board, and visually inspect the place where there is no water corrosion and burn out.

The screen of Lenovo Y700-14ISK notebook does not show maintenance figure 1.
When the board is switched on by the adjustable power supply, the current jumps quickly, reaching 1A+. When the display screen is connected for testing, the current is powered off, and so is rebooting. Fix the radiator to the motherboard, then start the test, the current jumps several times, the power is turned off, and then the power is automatically turned on and the machine is turned on.
All kinds of cables are connected well, and then they are turned on for testing, but they still don’t light up, and the adjustable power supply becomes 0.5A current again. Disconnect the right small board, bottom indicator light, keyboard, keyboard backlight, touch panel, etc. one by one, and start the test separately. When the CPU fan was disconnected, the boot returned to normal. After many tests, it was found that once the CPU fan was connected, it would not light up.
Test several lines of the multimeter fan, and there is no short circuit. Measure the power supply of the fan. When the fan is connected or not, the voltage is about 4.7, which is a little low. It should not be the problem of the fan.
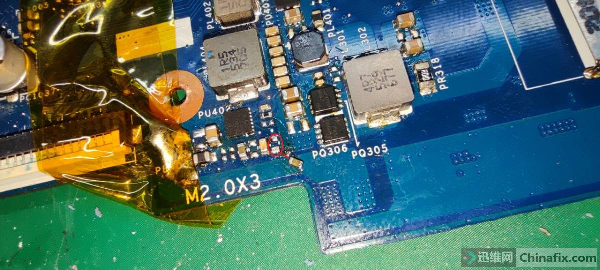
Find the schematic diagram and measure the standby voltages of 3V and 5V. 3V is normal, but 5V is actually only 4.7V, which is a bit low. The measured value of 5V inductor to ground diode is 330, and it feels normal (there is a pit here). 5V standby chip PU402, screen printing RJ4EH, open the drawing, find the model SYX196CQNC, and directly replace it with a good chip.

The screen of Lenovo Y700-14ISK notebook does not show maintenance figure 2.
Ok, change the power-on test, but it’s still only 4.7V According to the drawing, +5VALWP is converted to 5VALW through a node PJ402, and PJ402 is found on the back of the motherboard. After the test is disconnected, the voltage is still 4.7V The fault is still on the standby chip side.
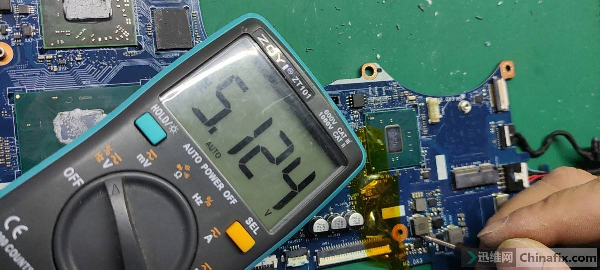
Look at the drawing PL404. There are several filter capacitors PC421-PC426 behind the inductor. When the first small capacitor is removed, the re-measured voltage has recovered to 5.1V, and the ground diode value of 5V inductor has increased from 300+ to 500+.
The multimeter measures this capacitance, and it jumps from 200+ to 300+ to the ground value. It is the tiny short circuit of this small capacitance that causes the 5V voltage to be pulled down.

The screen of Lenovo Y700-14ISK notebook does not show maintenance figure 3.

The screen of Lenovo Y700-14ISK notebook does not show maintenance figure4.
Connect the fan test, and it can be turned on normally. Install and test all functions normally. This is the end of maintenance!

The screen of Lenovo Y700-14ISK notebook does not show maintenance figure 5.