Address
304 North Cardinal
St. Dorchester Center, MA 02124
Work Hours
Monday to Friday: 7AM - 7PM
Weekend: 10AM - 5PM
Address
304 North Cardinal
St. Dorchester Center, MA 02124
Work Hours
Monday to Friday: 7AM - 7PM
Weekend: 10AM - 5PM
Lenovo G400 laptop cannot be powered on for repair
Machine model: Lenovo G400
Version number: LA-9632P
Malfunction: Notebook Won’t Turn On
Maintenance process: plug in the maintenance power supply, and the standby current is a little too high to 0.045A Touch the motherboard with your fingers, and feel a little warm around the common point and the charging chip area, and guide the view upwards.
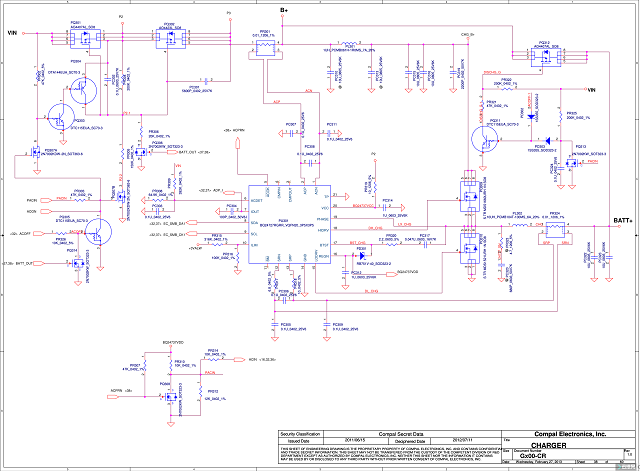
Lenovo G400 laptop cannot be powered on for repair Figure 1.
Remove PU301 and PQ309, turn it on, then remove PQ306, PQ307 and PQ312, and so do the bridge, BIOS, PQ302 and PQ 303. These components are repeatedly disassembled and replaced, but the problem is still unresolved.
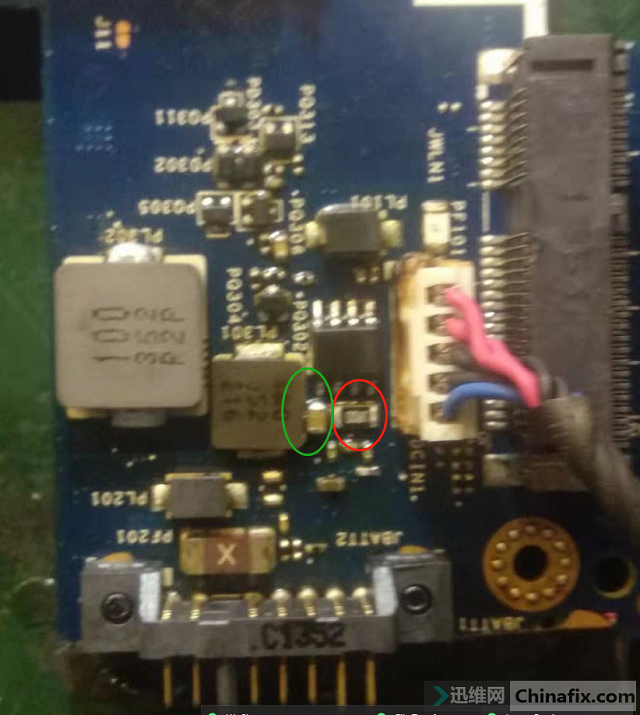
Lenovo G400 laptop cannot be powered on for repair Figure 2.
When blowing PQ302, I found that the next resistor was written with 120, and the middle 2 was a little burnt. When blowing down 12 ohms, it became OverLoad, and I found a 1 ohm resistor to connect it.
Turning on the maintenance power supply seems to see a pinch of smoke floating in the air, but at this time, the standby current of the maintenance power supply is 0.009A, and then turning off the power supply and measuring the resistance value of 1 ohm becomes OverLoad.
Then, the left end of the resistance to ground diode value is 0, which I once thought was GND, but then I finally came to my senses. If the left end of the resistance is GND and the right end of the resistance is connected with 19V, if this logic holds, it is obvious that the current of U=IR will have 19A. On the contrary, if this logic is not valid, it means that the load is hung on the left end of the resistor, and there is GND phenomenon in the load.
After careful comparison with schematic, the identity of X resistor was finally verified. He is PR319, which is in the red circle in the second picture. Finally, he reached the culprit PC314 in the green circle, and blew down to measure Short circuit. The third picture shows the standby current.
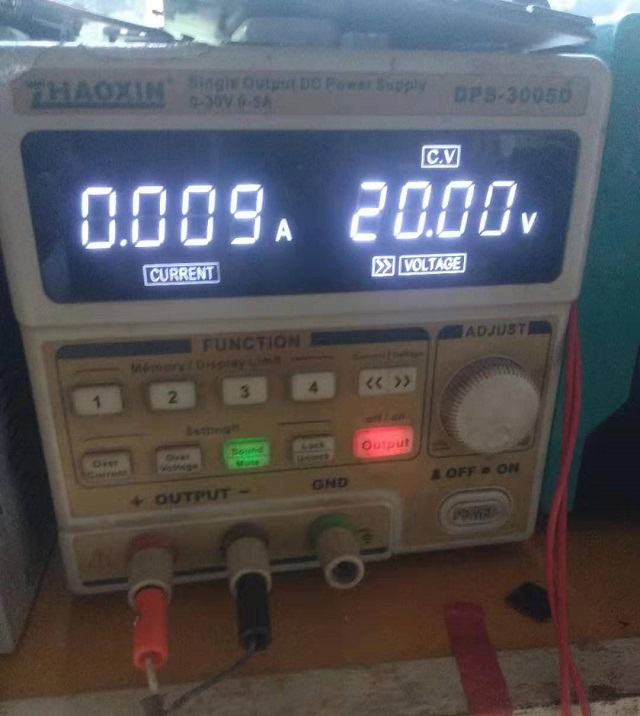
Lenovo G400 laptop cannot be powered on for repair Figure 3.
Then replace one by one, use tweezers Short circuit JPWRB1 4 and 8 pin, and turn on the current.
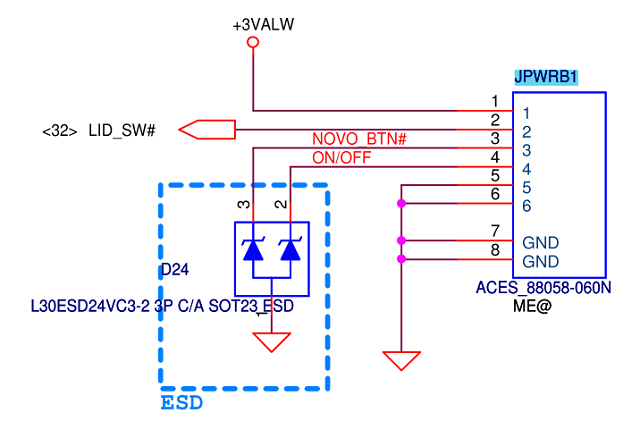
Lenovo G400 Notebook Won’t Turn On Maintenance Figure 4.
After the problem is solved, the whole repair process should be resumed. At the beginning, this Capacitor should have a slight standby short-circuit current. When the standby current is too large no booting, it will be in dynamic switch, and the state will become dynamic large short-circuit current no booting 19301 no booting 10801 no booting 3801. The change time of this state is too short to be felt. Then, in the process of repeatedly blowing down the components, the high temperature accelerated his aging and death.State becomes static Short circuit. Burn that resistor to find the final answer.
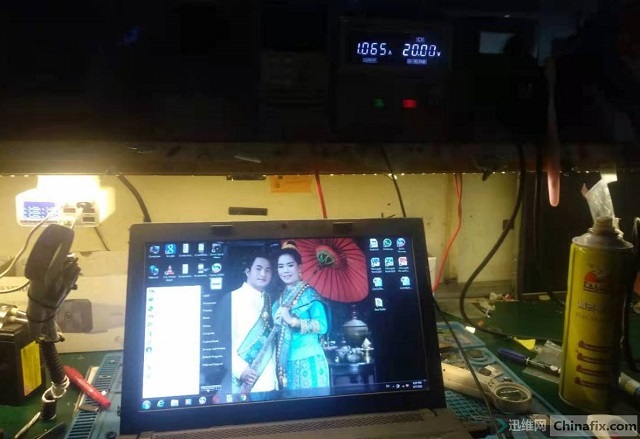
Lenovo G400 laptop cannot be powered on for repair Figure 5.